🖌️ Getting Started - Integrate the Canister List
Ready to integrate the Canister List to surface metadata for Canister IDs in your UI/App? All right!
Just like using the NFT List, you will need to use the DAB-js library, which we built to provide a simple plug-n-play way of integrating all of DAB's registries. With it, you will:
- Query DAB's Canister Registry to check if a Canister ID has associated metadata.
- Receive a metadata object you can surface in the UI.
Remember, with DAB, you will check if the Canister ID you're querying has associated metadata; if the canister's controller hasn't added the Canister ID and its metadata to the Canister List yet, it won't return information. Canister controllers can submit new canisters here
The mainnet canister ID for DAB's Canister list is:
qxtlu-aiaaa-aaaah-aaupq-cai
0. ⚙️ Preparing your environment
To pull and install from @Psychedelic via the NPM CLI, you'll need:
- A Github account
- A Github personal access token (you can create a personal acess token here)
- The personal access token with the correct scopes, repo and read:packages to be granted access to the GitHub Package Registry.
- Authentication via
npm login, using your Github email for the username and the personal access token as your password:
Once you have those ready, run:
npm login --registry=https://npm.pkg.github.com --scope=@psychedelic
Note: You only need to configure this once to install the package! On npm login provide your Github email as your username and the Personal access token as the password.
You can also setup your npm global settings to fetch from the Github registry everytime it finds a @Psychdelic package, find the instructions here.
⚠️ Alternatively, a token could be passed to the .npmrc as //npm.pkg.github.com/:_authToken=xxxxxx but we'd like to keep it clean and tokenless.
1. 🧰 Setting up DAB-js in your project
First, you need to install the DAB-js npm package into your project.
You can do so from the command line
npm install @psychedelic/dab-js@latest
Find more details about installing versions in the package page here
2. 🛢️ Check a Single Canister's Metadata in the Registry (getcanisterInfo)
This method allows you to query the DAB canister registry to fetch the metadata for a specific Canister ID. You will need to pass:
canisterID: the Canister ID of the canister you want to check in DAB.agent: an HttpAgent (instantiated with agent-js or Plug)
import { getCanisterInfo } from '@psychedelic/dab-js';
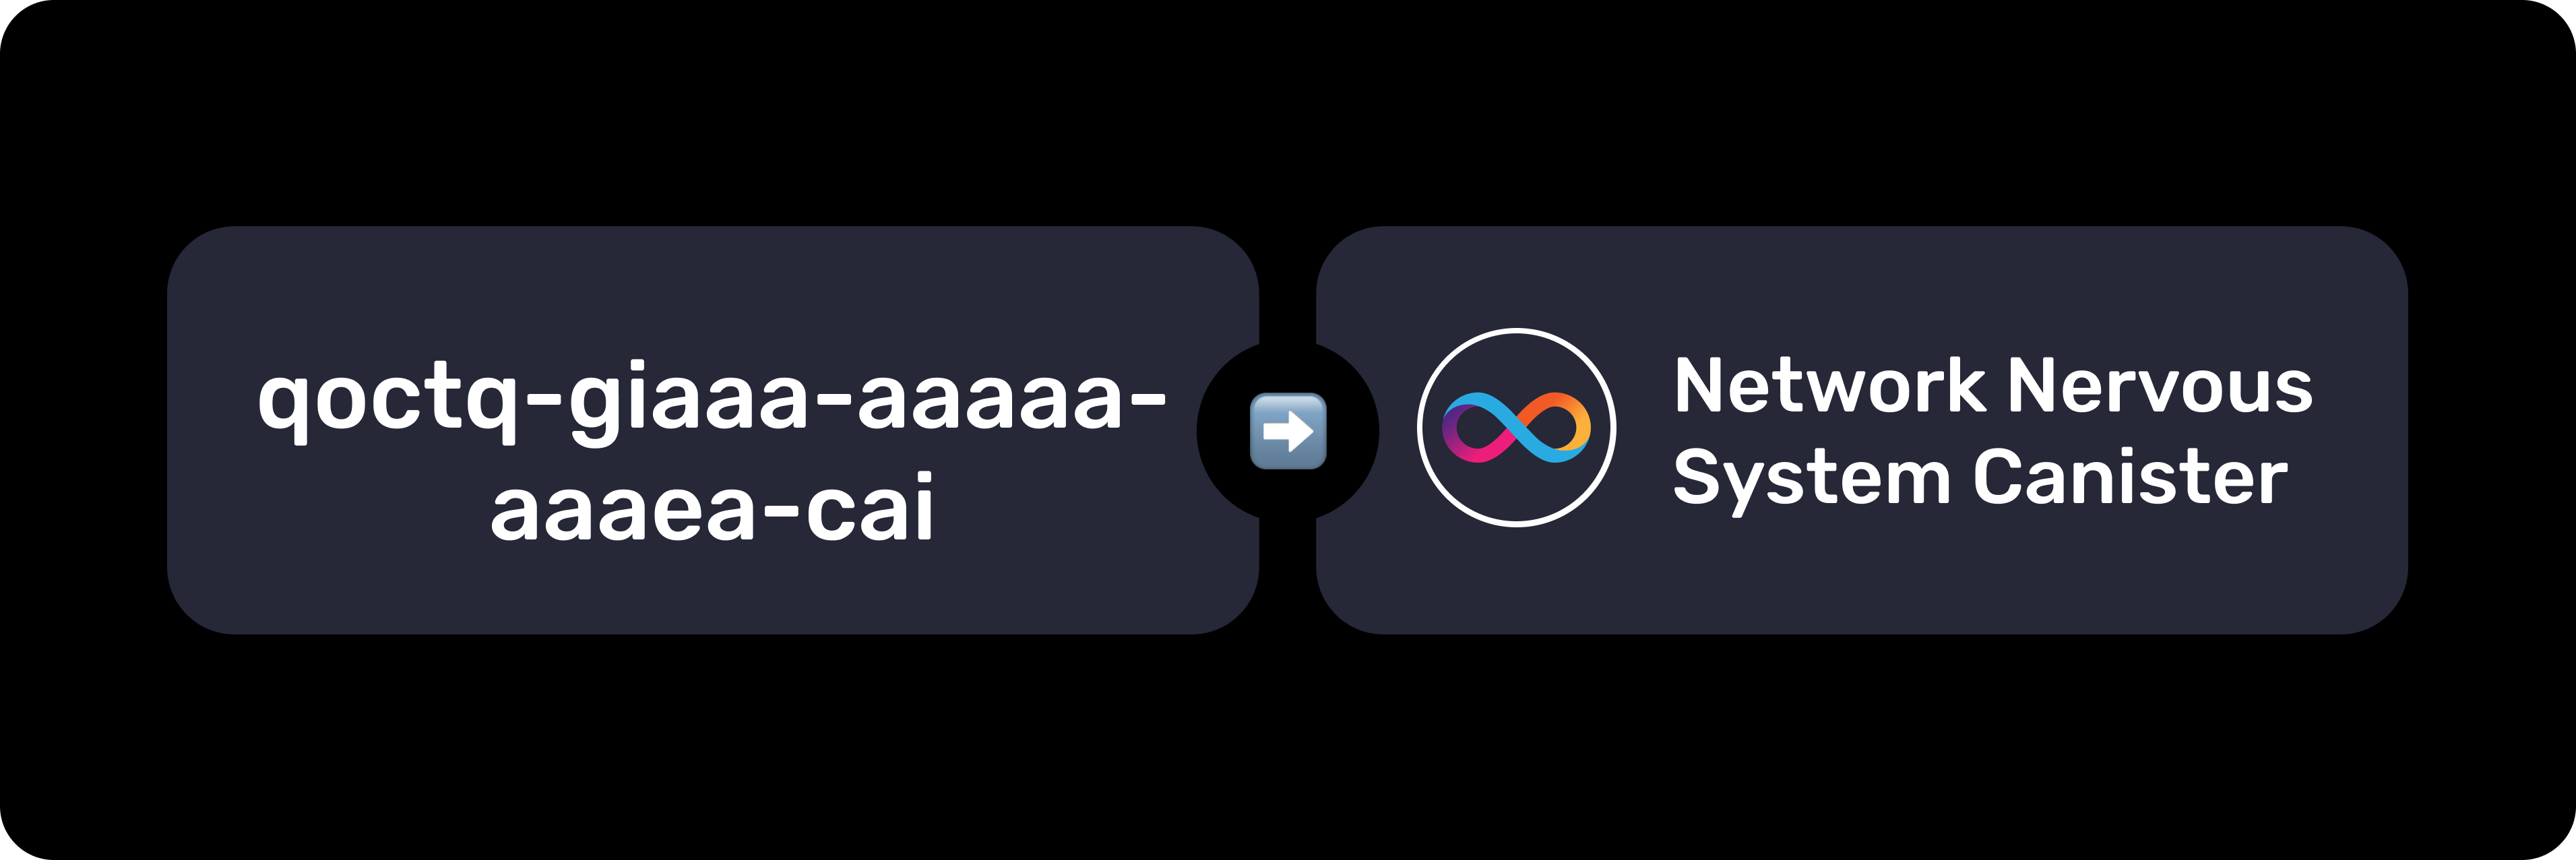
const nnsCanisterId = 'ryjl3-tyaaa-aaaaa-aaaba-cai';
const nnsMetadata = await getCanisterInfo({ canisterId: nnsCanisterId });
console.log(nnsMetadata);
If the Canister ID has metadata associated in the Canister Registry, it will return a metadata object. Else, it will return undefined.
type CanisterId = Principal | string;
interface CanisterMetadata {
  url: string;
  name: string;
  description: string;
  version: number;
  logo_url: string;
}
3. 🛢️🛢️ Check Multiple Canister's Metadata in the Registry (getMultipleCanisterInfo)
This second method is a variation that allows you to query DAB to check the metadata of multiple canisters at once. The main differences is that you will pass:
canisterIDs: An array of several canister IDs of the canisters you want to check in DAB.agent: and HttpAgent (instantiated with agent-js or Plug).
import { getMultipleCanisterInfo } from '@psychedelic/dab-js';

const canisterIds = ['e3izy-jiaaa-aaaah-qacbq-cai', 'qcg3w-tyaaa-aaaah-qakea-cai']; // Cronic + ICPunks
const nftsInfo = await getMultipleCanisterInfoFromDab({ canisterIds });
console.log(nftsInfo);
In contrast to the previous method, this will return an array of metadata objects for all the canister IDs you entered.
4. 📮 Using DAB Registry Standard Methods (name, get, add, remove)
Since the Canister list also follows the DAB Registry standard, we can interact with it's base methods through the use of the CanisterRegistry object that DAB-js provides.
This pre-made object allows you to skip the step of creating a new instance of the Registry Class for the NFT registry, like we would do in the Create Your Own Registry section.
import { CanisterRegistry } from '@psychedelic/dab-js';

const canister_registry = new CanisterRegistry();
const getId = "PRINCIPAL-ID-HERE";

const testRegistryMethods = async (registry: Registry, getId: string) => {
    const name = await registry.name();
    console.log('Registry Name: ', name);

    console.log('Getting metadata for id', getId);
    const getResponse = await registry.get(getId);
    console.log('Get Response: ', getResponse);
};

testRegistryMethods(canister_registry, getId);
You're able to interact with add and remove in the same way. However, these methods require you to be registry's admin.